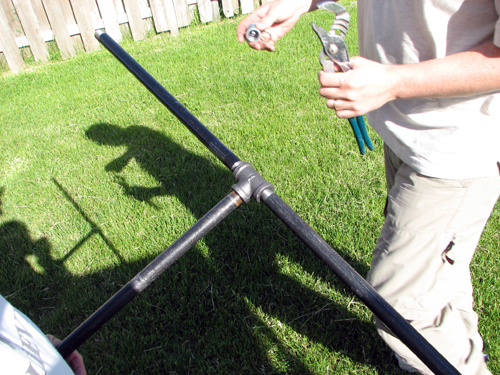
Homemade bird feeding pole “system”

Today Arthur and my dad made a bird feeder pole for our back yard. First we all went to Home Depot to pick up the materials. The pole system is based on several feeders my parents have, all made by my dad. We used black pipes normally used for natural gas and/or plumbing systems. For this project we used:

One 2′ long, 1 inch diameter pipe (“the base”)
One 10′ long, 1/2 inch diameter pipe (“the long pole”)
One 18″ long, 1/2 inch diameter pipe (“the arm”)
One 1/2 T-section joint
Two 1/2 inch end caps
Two each: S-hook, nut/bolt, large washer, small washer

At Home Depot, we had an 18″ piece cut off the 10-foot pipe, and the cut side of the 18″ pipe threaded.

Here are Arthur and my dad preparing for the project. (My dad’s wearing dark glasses because he just had lens replacement surgery on his eyes.)
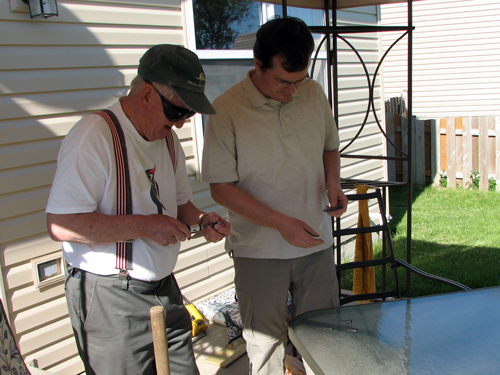
feeder1

First, the T-section was screwed onto the top of the long pole.
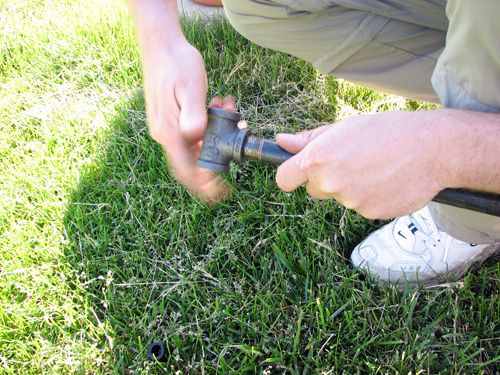
feeder2

Both 18″ arms were then screwed into the sides of the T-section.
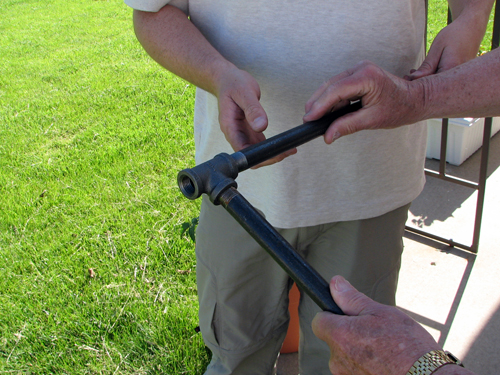
feeder2a
feeder2b

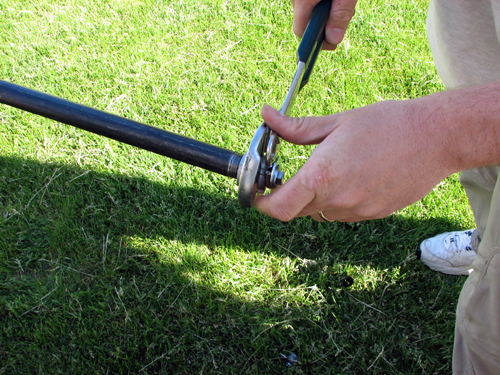
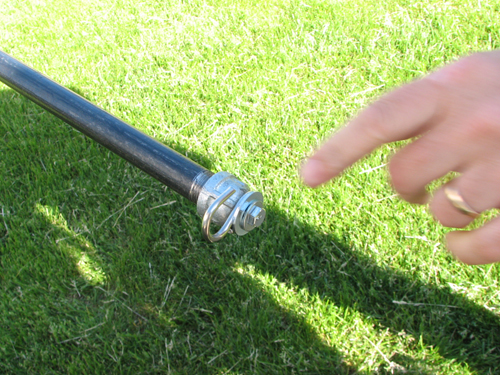
They used a drill to cut holes in the end caps and then used the bolts, nuts & washers to secure the S-hooks to the ends of the caps. Pliers were used to tighten the S-hook around the bolt. The end-caps were then screwed onto the ends of the arms.
feeder3
feeder4

We then used a sledgehammer to pound the base pipe directly into the ground. We first hammered one end of the pipe in slightly, to prevent too much dirt entering the pipe from below. When the pipe was buried with only a few inches above the ground, we slid the long pole into the base. Since the pipes were not meant to nest this way, the long pole wobbled a bit. We used shims to make the fit more snug. I think the final result is pretty cool:

feeder5

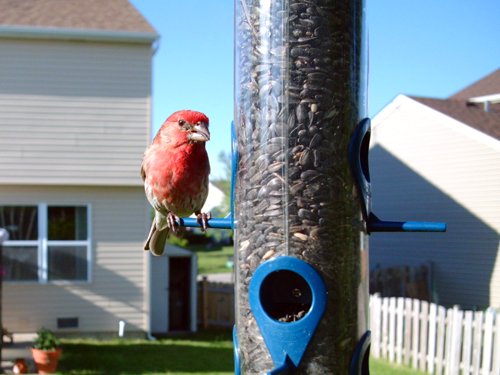
This system is much more substantial than the shepherd’s hooks we’re now using for our feeders. We can finally hang our Wingscapes Birdcam and hopefully get some more interesting shots than the ground images I’ve gotten over the past months. Here’s a sample we got late this afternoon.
feeder6

Share the birds, share the love!
This entry was posted in Products, Yard Birds. Bookmark the permalink.

17 Responses to Homemade bird feeding pole “system”

  1. Christine says:

    I know this post was a while ago, but I just to say AWESOME JOB and thank you so much for the idea! I cannot believe the price of shepherd’s hooks!
    THANK YOU!

  2. Steve says:

    The materials list has ONE 18″ arm. Aren’t there two sections on the pole ? Thanks

  3. Amy says:

    Hi Steve, yes, there are actually two 18″ arms. We bought one piece at 18″ and had another 18″ piece cut off of the 10′ pipe.

  4. jefe says:

    Looking at all the horrible quality bird feeding products out there, this looks like how I’m going to roll. Izzat a house finch?

  5. nancy phillips says:

    Do you have any tips for filling feeders at this height? I would not like to have to get out a 6′ ladder every time I wanted to refill my feeders.

  6. Amy says:

    Hi Nancy,

    The feeders we use now have longer hooks on them so if we hold them at the bottom of the feeder, we can easily hang it. We also have hung a few longish s-hooks like these for feeders with short hooks. No ladder required!

  7. Blake says:

    Just made this…very easy. I wasn’t sure about drilling thru the end caps, so I used 90 degree elbows, with caps so the rain doesn’t get in the pipe. Need to shim it a bit better, but the basic system works great. Thanks very much for posting this!

  8. Mike says:

    Can squirrels get to the bird feeders by going up the pole?
    Do I need a squirrel baffle?

  9. Amy says:

    Hi Mike. The pipes are not squirrel-proof on their own.

  10. Marina says:

    Is there by any chance a step-by-step video? I want to make this but I want to make sure. 🙂

  11. Arc says:

    Used this plan. Bought all the pipe at Home Depot. Worked like a charm.

  12. Chad says:

    Did you paint the black pipe? Wouldn’t it rust over time? I just bought all of the supplies and was contemplating giving it a coat of paint. Thanks.

  13. Amy says:

    Hi Chad, we still use this pole and it is a deep red rust color today. It’s not flaking at all and doesn’t appear to have any wear. We moved to Florida in June 2011 and it has been outside in the rain and humidity and is still going strong (wow, time flies!).

  14. Jeff says:

    Great design…I painted mine with green spray paint and put the hooks around the end of the pipes….for a squirrel baffle I used a piece of stove pipe with a cap on it, drilled a hole to slide it over the black pipe and held it up with a hose clamp…cheap and easy

  15. James Peachee says:

    Hi,
    I love this design and will be making one shortly ( a few days ). 🙂
    The Sheppard’s hook that we currently use is too low to the ground and the squirrels have easy access. What I did was use a slinky on it and that kept them from climbing the pole. It’s actually quite entertaining.

  16. Cynthia Johns says:

    I have very happy birds right now. Thank you for the post. Very sturdy and looks awesome.

  17. Vincent Dees says:

    Great idea with putting the 1″ pipe into the ground first. I made the same basic thing many years ago, but just pounded the 10′ black pipe directly into the ground. It worked fine, but this way was a lot easier and I can pull it out if I need to for any reason.

    I also made the hangers slightly differently. I put 90 degree elbows on the ends of the T and brass reducer fittings in those with a eye screw through them. Just saved the effort of having to drill anything (but those reducer fittings were $4 each, so adds to the cost).

Leave a Reply

Your email address will not be published. Required fields are marked *